Teachers in Focus: Sydney Bassard, Speech-language Pathologist and Teletherapist

[FR] Trucs et astuces pour réaliser votre premier film en stop motion

Have you ever created a time-lapse video with your students or kids? Time-lapse projects provide a fun way to inspire children’s curiosity and nurture an interest in the natural world and science.
The process works by capturing images at set intervals of time so that when the footage is played back as a movie, you see a high-speed version of reality. This fascinating technique lends itself particularly well to capturing changes that occur too slowly to see with the naked eye, such as capillary action, yeast fermentation and plant growth.
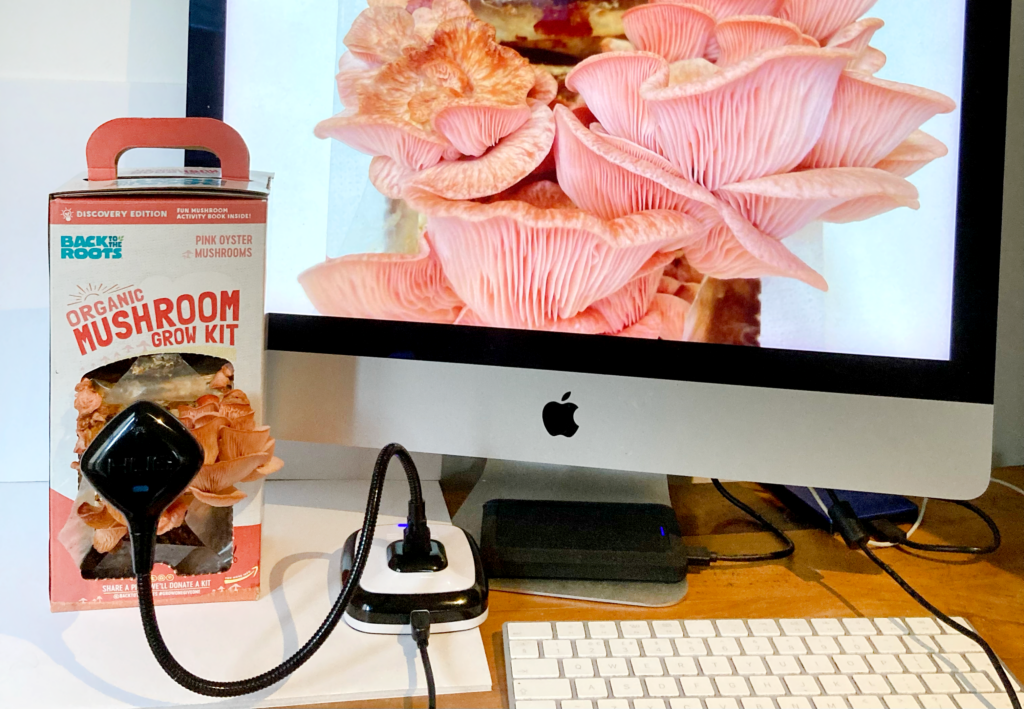
Mushrooms make excellent subjects for time-lapse projects. They are easy to grow and can double in size every day. We used a Back to the Roots Organic mushroom grow kit to create this amazing pink oyster mushroom time-lapse video, putting the fun into fungi.
Regular readers of the HUE blog will be aware that the HUE Animation software has a built-in time-lapse function which turns images captured at set intervals into a completed movie. However, did you know that the HUE Intuition software included with every HUE HD Pro camera can also be used to capture images automatically?
HUE Intuition allows you to capture images by Keypress, Timer, or Movement, and the Timer option is ideal for capturing time-lapse image sequences. You will need to use additional software to export the images as a movie, but there are easy ways to do this for free (more on this later).
How to auto-capture images with the HUE Intuition software
- Open HUE Intuition and click on the Document Camera button on the right-hand side of the application window.
- At the bottom right-hand side of the window, select your HUE camera from the Camera drop-down menu.
- Click on the Settings button and create a folder on your computer to Save stills in.
- Next, click on the Image Capture tab.
- In the capture settings box, select the On Timer option at the bottom left of the screen.
- Use the adjacent slider to set the Interval between pictures, and the Duration you require.
- When you are ready, click the Start button, bottom right of the application window, to start taking pictures.
- Click Stop if you want to stop taking photos at any time.
Mushroom growing time-lapse tips
- Set the interval slider to capture a picture every three minutes for a duration of six hours at a time.
- To avoid the light fluctuations that can occur during the day, capture the images overnight.
- Use the HUE HD Pro camera’s built-in LED lights to help illuminate the mushrooms for close-up shots.
- Each night, change the position of your camera to film a different point of interest.
How to create a time-lapse video from an image sequence
You can use many different applications to create time-lapse videos from individual images. Here are two straightforward (and free) ways to do it.
With QuickTime Player (for Mac users)
- Open the QuickTime Player app, click File in the menu bar, then click on Open Image Sequence.
- Navigate to the folder where your images are saved, on your keyboard press ⌘A (Command + A) to select all the images, then click the Choose Media button.
- A settings box will appear. Set the desired image resolution and frames per second for your movie (24 frames per second or higher works well for time-lapse videos), then click Open.
- When the images have loaded, click on File, scroll down to Export As and choose the desired video resolution. 1080p will produce a large, high-quality video, 720p and lower will produce smaller file sizes.
- Type a name for your video, choose a location to save your video, and click Save to export your finished video.
With Windows’ Video Editor application
Video Editor is a simple movie making application that comes pre-installed with Windows 10 and 11. It is free to use and includes a full-featured set of video editing tools allowing you to add music, text and effects – as well as create time-lapse movies.
We have prepared a short video tutorial – available to watch on HUE’s YouTube channel – to help you turn image sequences into time-lapse videos with the Windows Video Editor application.
Can you think of any more good subjects for making time-lapse videos? If so, please leave us a message in the comments section or tag us @HUEcameras on social media with your own ideas and time-lapse movies!

Find out more, subscribe to our blog, download resources, contact us or follow us on social media.


