Introducing The HUE Book of Animation

Investing in education with PledgeCents
101 ways to use HUE as a visualiser: Art and Design
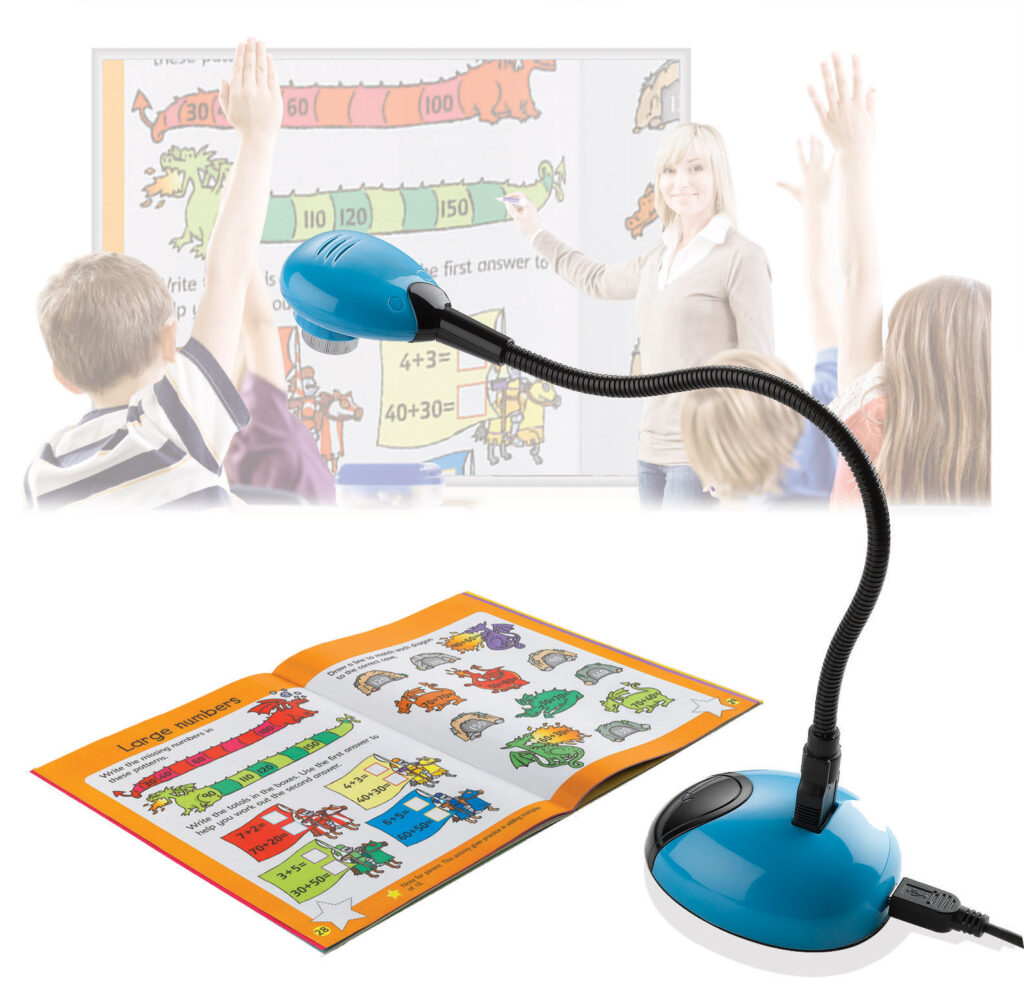
The HUE camera has many uses, mainly thanks to its flexible neck, and it’s very popular in schools where teachers use it as a visualiser (sometimes called a document camera). Since many schools are now equipped with HUE, we’ve decided to do a series of blog posts where we talk about the different ways the camera can be used in the classroom. In this article we’re going to mention some possibilities which may be especially useful to art teachers.

Some of the things you can do with the HUE camera include:
1. Project
The HUE camera is ‘plug and play’, so you only have to connect it to the computer and then you can start using it straight away. After connecting a laptop to your projector, your students will be able to see the live video from the HUE camera on your projection screen or interactive whiteboard.
For example, you might have an art book you want to show the class but there’s only one copy available. This spares you making photocopies of the pages you want to discuss, and everyone will be able to see the page clearly (and in colour). In the same way, students can present their artwork to the class without the other students having to pass it around one by one.
2. Record
The HUE camera has a high quality 720p sensor and a built-in microphone, which means you can record high definition video. If you place the camera in its base, you can position it to film your students giving presentations or acting out scenes from a play. You can watch the recording later – either on your computer screen or using the projector – in order to work with the pupils to identify strengths and weaknesses or to help grade a performance.
3. Take pictures
With HUE, you can easily take snapshots of pretty much anything and save them to your computer. Take pictures of artwork, magazine articles, student projects, recipes, problems etc. and create a portfolio of resources to help you plan future lessons.
4. Animate
Using the camera together with our HUE Animation software, you can create your own animated stop motion videos. Whether you use characters made from modelling clay, paper cut-outs or something else, it’s easy to make an animated film for a class project. Or you could just create an animation for fun – amaze your friends and family by showing them your new skills!
5. Time-lapse
Another feature of our HUE Animation software is time-lapse photography, which lets you set the camera to take pictures automatically and turn them into a movie. You choose the interval and duration; for example, you could set the camera to take one photo every three seconds for the next half an hour, then play it back at a much higher speed to see what changed during that time. This is a practical way to monitor subtle changes such as changes in the sky or the classroom. You could also use time-lapse to watch a flower blooming or to film a student completing a task like drawing a picture.
6. Monitor
If you happen to have a Monet painting back home, or any other valuable you would like to keep an eye on, you can use HUE as a security camera. Depending on the software you use, it can be set up to take a picture whenever it detects someone moving in the room it’s monitoring. This is also a great way to discover what the class pets get up to when the students are out of the room!


