Guest post: HUE proved its value in Art and English classes

HUE’s Math Fractions Activity Guide is now available
Get to know your HUE HD Pro with our handy guides showing you everything you need to start using your HUE camera and HUE Intuition software.
The guides will cover four topics:
- HUE HD Pro – unboxing & camera set up
- HUE Intuition: software set up
- HUE Intuition: software features & usage
- Troubleshooting: FAQs & support
Each guide includes step-by-step pictures, walkthrough videos and written instructions to help people who are less experienced in navigating computer systems and setting up hardware and software.
If you are more confident with computers and just need a quick overview for setting up your HUE camera and software, the HUE HD Pro User Manual might be all you need.
In this guide we will show you how to use all the features of the HUE Intuition software; how to record and export videos, capture images, how to flip/mirror the camera feed and more!
A single user license for HUE Intuition is included with every HUE HD Pro camera. 5, 10 User and School licenses can also be purchased from our shop.
HUE Intuition – software features & use
If you haven’t already downloaded, installed and registered HUE Intuition please see our previous guide for help getting the software set up.
Once you have your software ready to go, plug your HUE camera into your computer, either directly by the USB port on the camera’s long, flexible neck, or using the camera’s base and cable.
Once you have plugged in your HUE camera, launch your software by double-clicking the HUE Intuition icon on your desktop or in your Applications folder (or wherever you elected to save it).

Video mode
Once you have launched HUE Intuition, the first thing you need to do is select the microphone and camera you would like to use.
Click on the VIDEO button at the top of the right side of the HUE Intuition window. Then, navigate to the drop down menu boxes at the bottom of the screen, and click on them to select your HUE camera.
Tip: If you have a blank screen in HUE Intuition, check that your computer’s privacy settings are enabled to give access to the HUE camera (as described in our instructions for Windows and Mac users).

In video mode you can record, pause and resume filming, capture snapshots and adjust the microphone volume with the easy to use buttons at the bottom of the window.
Pressing the pause button while filming allows you to make simple live edits to your video as it is being recorded.
This feature can come in handy if you want to set up another scene, move to another room to film in, or prevent an imminent, unwanted cameo from a feline family member.
Playback mode
When you have finished your recording (and pressed the Stop recording button) HUE Intuition will automatically switch to the PLAYBACK window.
In this window you can preview your film by pressing the Play button and export your finished video.
If you want to save your video locally to your computer click on the Save Movie button and select the desired video format.
By clicking on the Save and Share button, you can either export and upload your video directly to YouTube or email the video file.

If you are using the Windows version of HUE Intuition, the Save Movie and Save and Share buttons look different but they can be found in the same place on the PLAYBACK window. Just look for the the icons shown below.

To find out more about HUE Intuition’s PLAYBACK mode, please click on the link below.
Scan mode
If you don’t have space for a flatbed scanner in your home, office or classroom, HUE Intuition’s SCAN mode is here to the rescue!
This feature allows you to quickly digitize paper documents, letters and books in various sizes and image formats at the click of a button.

Document Camera mode
The DOCUMENT CAMERA feature lets you stream a live video feed to your computer, turning your HUE into a document camera or visualiser.
Document Camera mode lets you Flip and Mirror the video feed helping you to set up your HUE in the perfect spot for live streaming.
The Flip and Mirror buttons can be found at the bottom left of the Document Camera window. Once you have set your desired orientation, the set up will be saved for use in the VIDEO, SCAN and IMAGE CAPTURE windows while you are using the software.
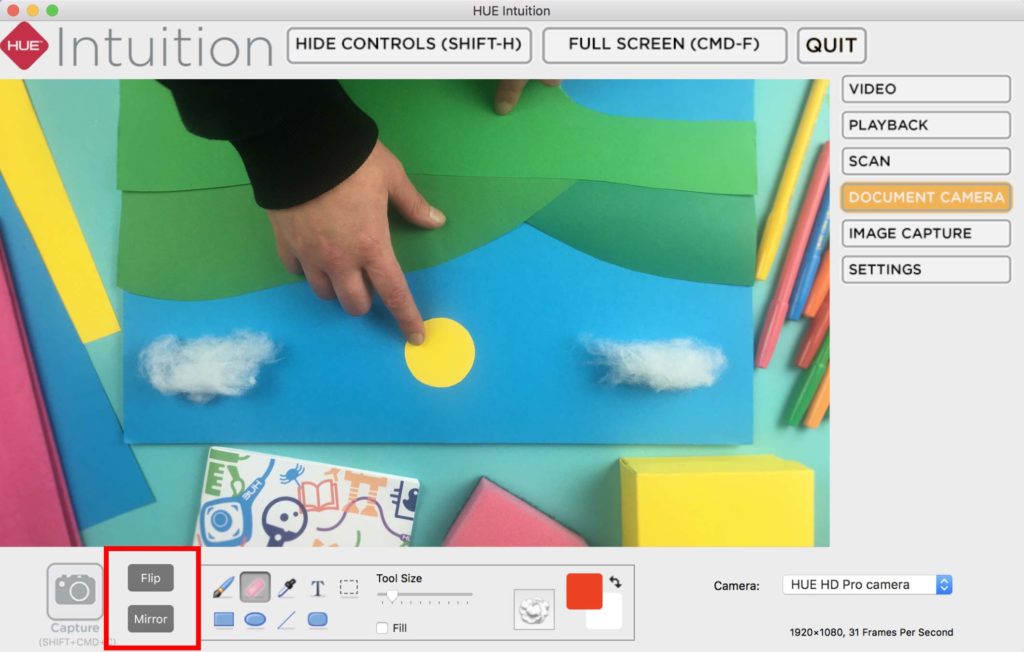
If you are using the Windows version of HUE Intuition, the Flip and Mirror buttons will look like the icons below.

Document Camera mode also allows you to annotate images with drawings, shapes and text.
If you make a mistake you can either delete all your annotations by clicking the button that looks like a puff of smoke / cloud, or use the eraser tool to remove individual elements.

Text, shapes and drawings can be repositioned by selecting them with the dotted Rectangle Marquee tool on Mac or with the Pointer (arrow) tool on Windows.

Snapshots of the annotated video stream can be saved to your computer at any time by clicking on the Capture icon (bottom left) that looks like a camera.
For more information about the tools you can use in Document Camera mode, please click on the link below.
Image Capture mode
HUE Intuition’s IMAGE CAPTURE feature allows you to capture images over time (On Timer), by motion capture (On Movement) or keypress.
Select the desired capture setting in the box, bottom left of the window, toggle the DURATION and INTERVAL sliders, and click the Start button to automate the image capture process.

For detailed information about HUE Intuition’s IMAGE CAPTURE mode, please click on the link below.
Settings window
The SETTINGS tab allows you to determine where your picture and videos will be saved and select the format you want for your pictures.
The default settings should be suitable for most users but you can change these at any time while using the software.
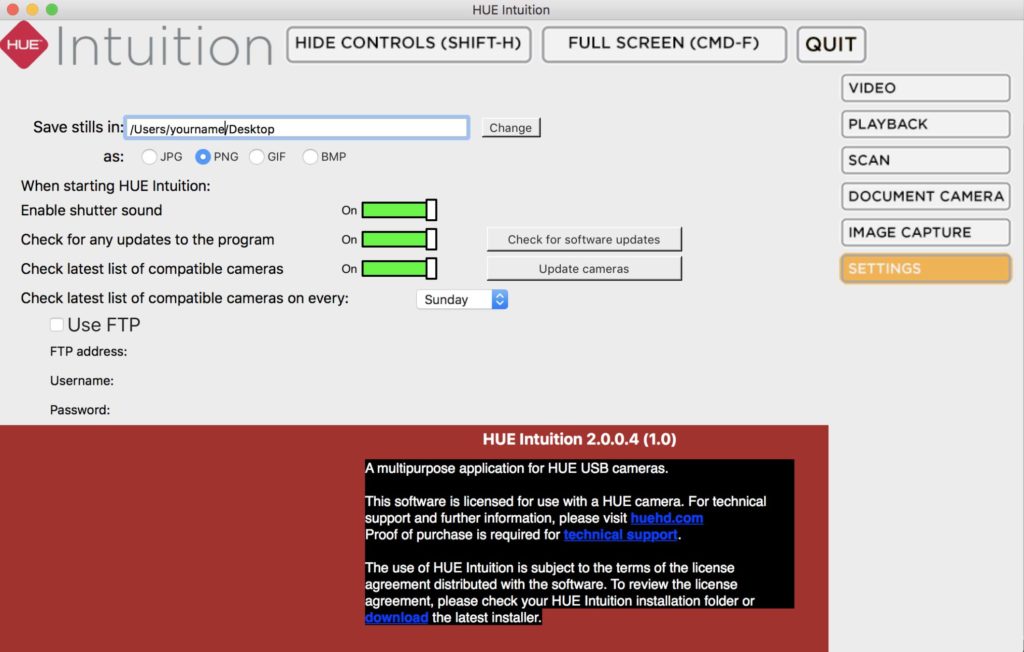
As well as the options in the Settings tab, HUE Intuition 2.0 now saves some additional configuration options between launches to make it easier to use than ever before. The new saved settings are:
- Camera selection
- Microphone selection
- Microphone volume
- Flip/Mirror settings
- Scan mode: ‘Autosave’ location
- Document Camera mode: Tool/Fill/Color settings
- Image Capture mode: Duration/Interval/Mode/Privacy settings
Windows users can delete their saved settings by removing the Users\[your username]\AppData\Local\hue directory.
On macOS, the saved settings are stored in your ~Library/Preferences/com.bkl.HUE-Intuition.plist file.
Hide Controls & Full Screen
The buttons at the top of the HUE Intuition window let you control how your live video appears on-screen.
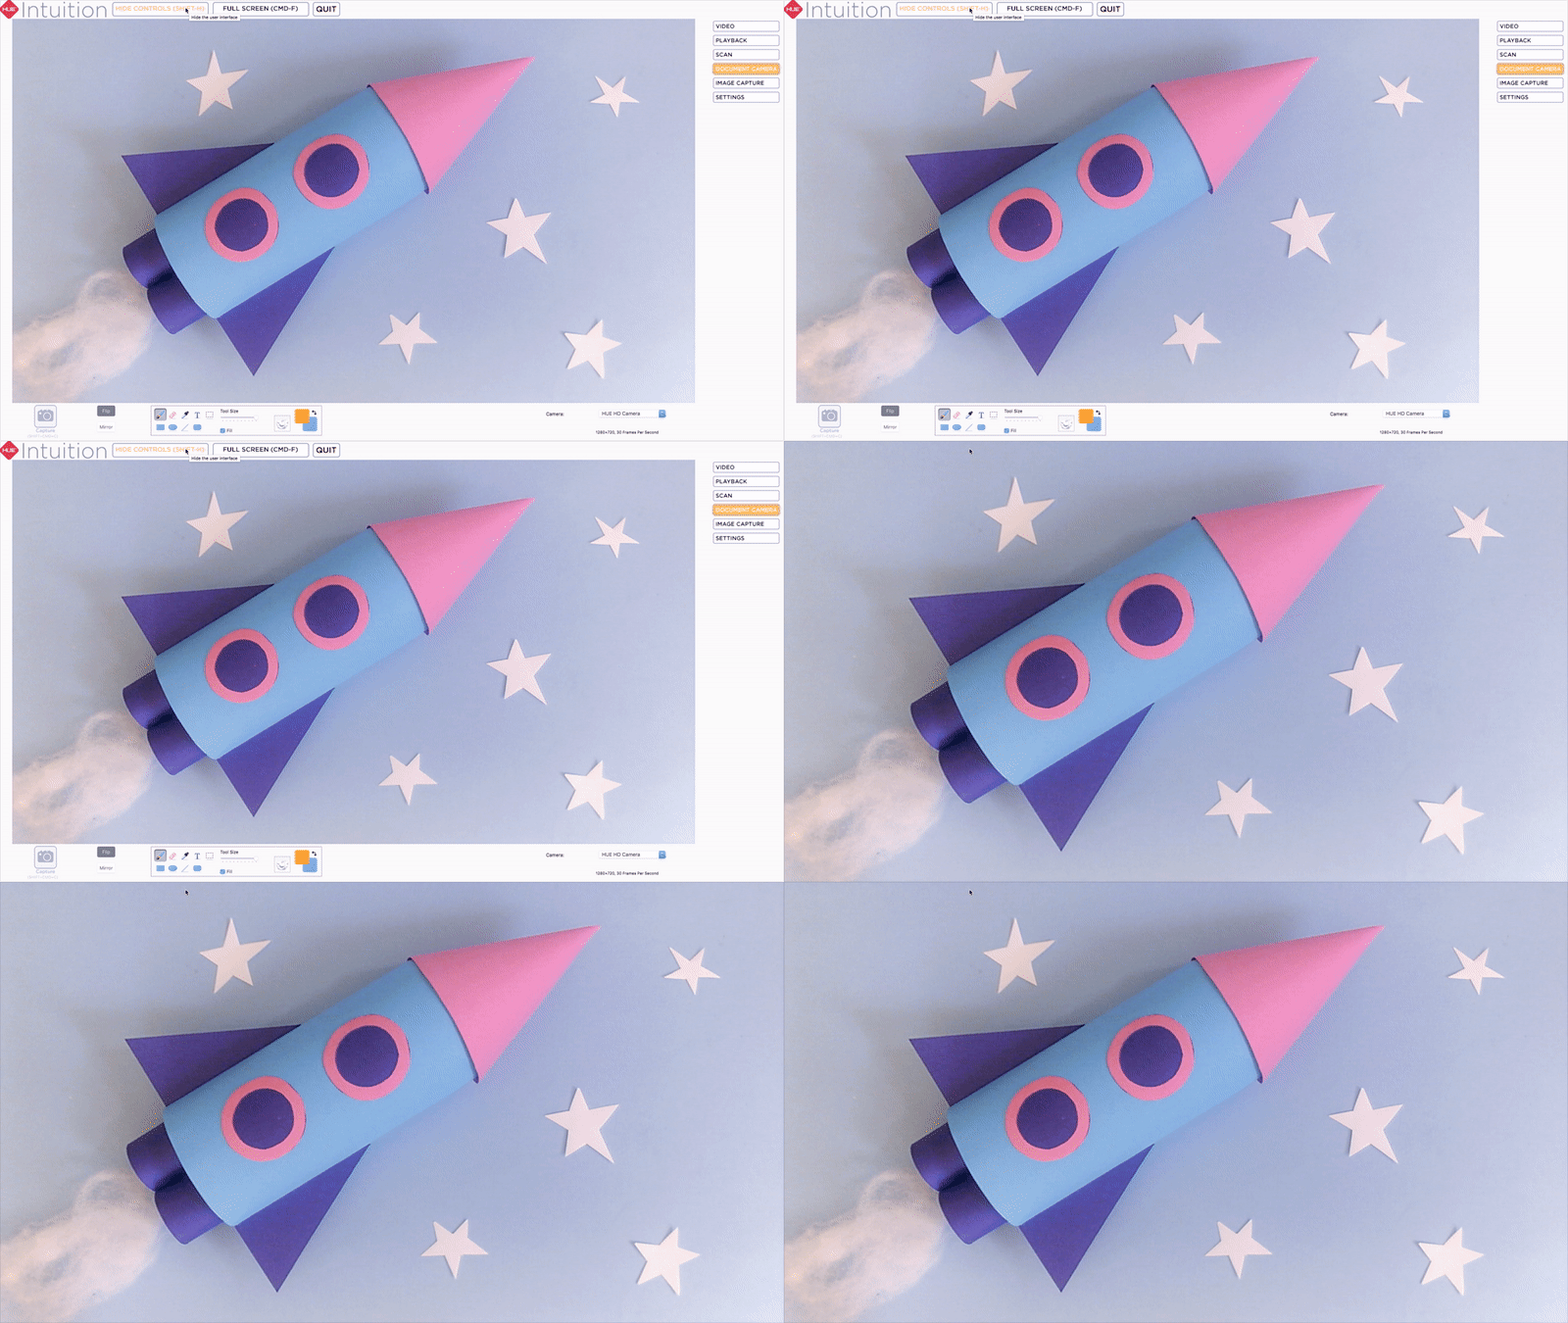
Hide Controls makes your video area larger by hiding all of the on-screen buttons and borders. You can still use the keyboard shortcuts to take snapshots. Windows users can hide the controls instantly by pressing F12 on the keyboard. On macOS, the option can be accessed by pressing Shift+H.
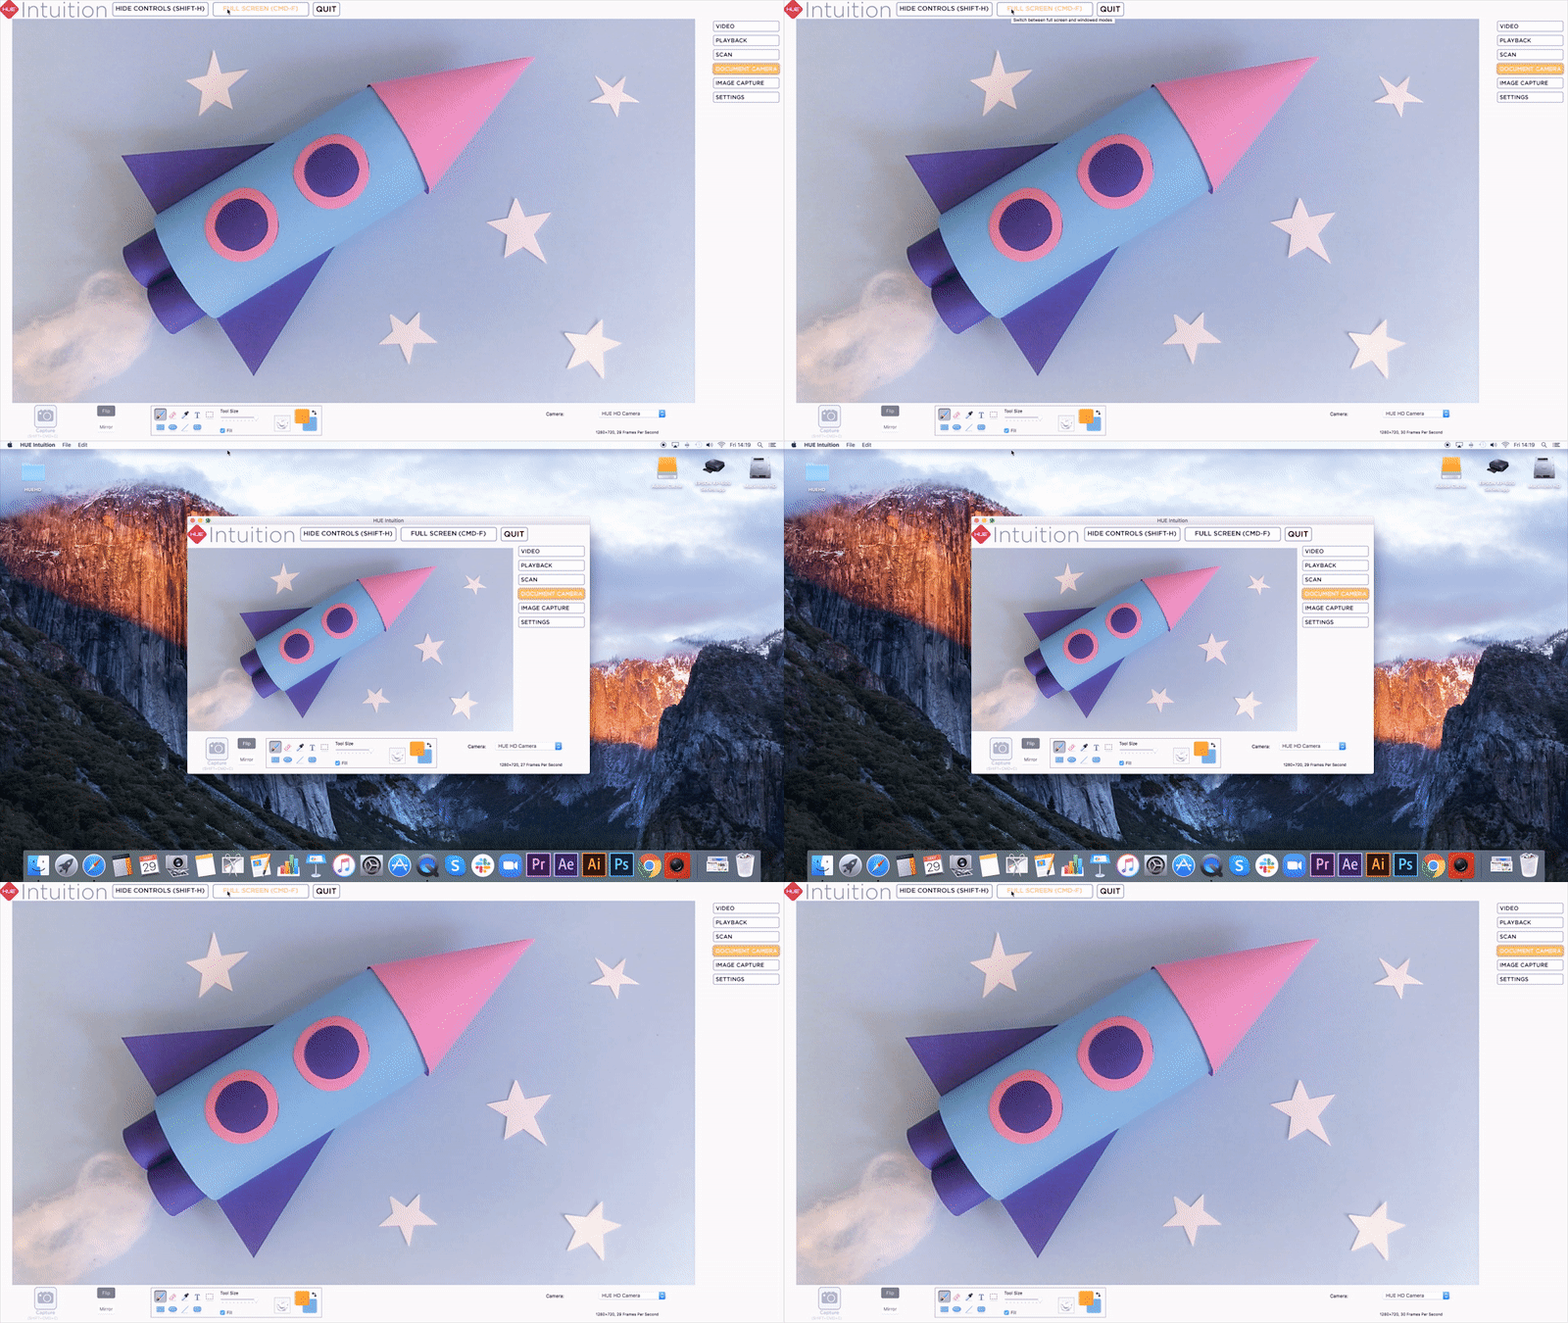
Full Screen/Windowed toggles between displaying HUE Intuition full screen and in a window. The shortcut is Ctrl+F on Windows or Cmd+F on macOS.
Pressing the Escape (Esc) key will always restore the default view.
Extra help
To help you get the most out of your HUE camera and software, we have created complementary video conferencing guides for Zoom, Google Meet and MS Teams.
As well as the video conferencing guides there are also a number of super helpful videos on YouTube created by teachers and home workers demonstrating the functionality and use of HUE cameras and software.
We hope you found this guide easy to follow and helpful but if there is anything else you would like us to include or cover in more detail please let us know in the comments.

Find out more, subscribe to our blog, download resources, contact us or follow us on social media.

